
18 May. 22
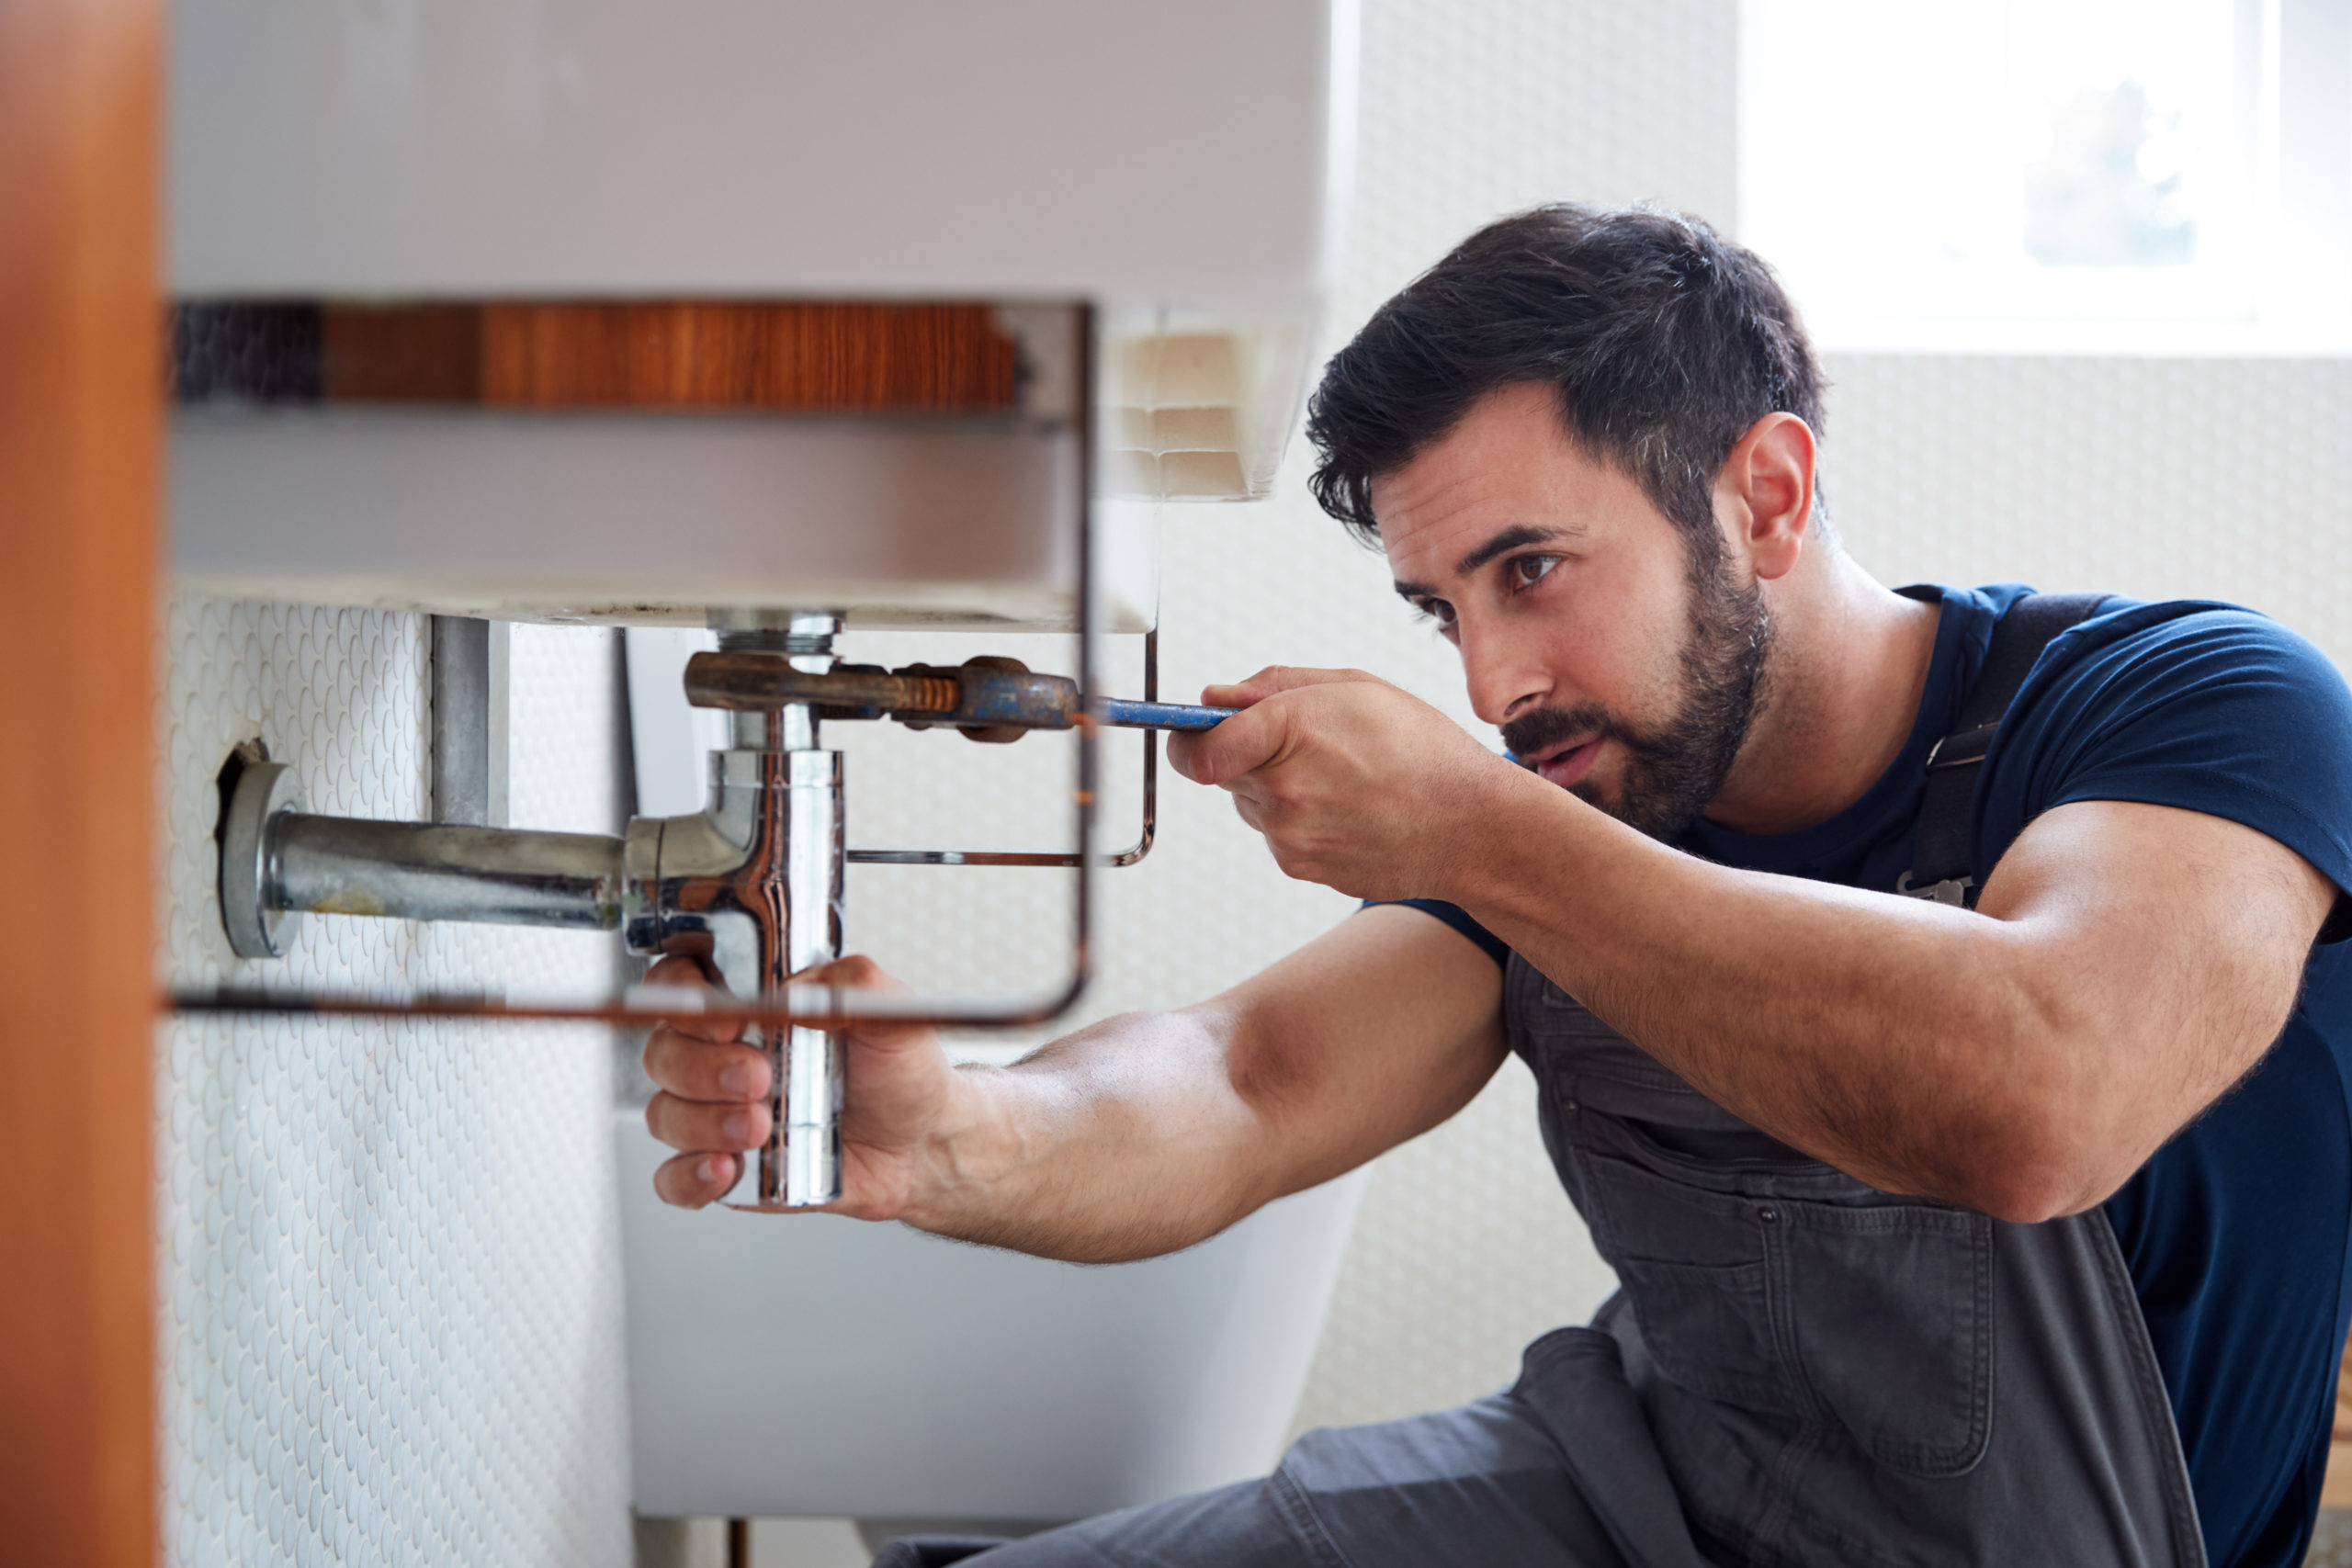
How To Repair A Leaky Faucet
A leaking faucet can become a nuisance and a severe problem if not addressed in time. You can tell your faucet is leaking by having a dripping sound that disturbs your sleep at night or water pooling under the sink. It is essential to learn how to repair a leaking faucet in your kitchen or bathroom since it is a simple and cheap procedure. Here’s a guide on the procedure for repairing a leaky faucet:
Step 1
Start by identifying the leak before you start any repairs to prevent you from worsening the mess. Then, turn off the water supply from the knobs and handles to control water from getting in from the main connection. You should not use any screwdriver or wrench on your fixtures before turning the water off.
Step 2
Use a flat-head screwdriver to remove the upper part of the handle knob. You’ll find a screw that holds the handle to the trunk below the knob. Remove the screw and then the handle with the screwdriver. If you find it difficult to remove the screw, use some penetrating oil to loosen it. You will take the faucet handle off without more challenges after unscrewing.
Step 3
Use a wrench to unfasten the packing nut to access the stem. You should also remove the stem. Faucets are different; some stems twist around the valve, while others have stems that pop out. Check how yours is and check for any damages that require repair.
Step 4
If you don’t find any issue up to this point, check the washer’s condition in the valve seat. If you have had your washer for a long time, it could be causing the leakage. Please do so if you find that the washer or O-ring needs replacement. Only ensure to use the exact fit to avoid further problems.
You may take the removed parts to the hardware store while purchasing some for a replacement to get the correct fitting. It could also be a great idea to purchase a few O-rings in different sizes when the need arises.
Step 5
You should then reassemble all the faucet parts. Start with the O-ring, the stem, packing nut, and the handle. Then, turn the knob slowly and gently to test the water and see if the leaking has stopped. Contact a professional plumber if you notice that the leaking continues or some other complications arise. If the leaky faucet continues misbehaving even after putting in all that work, your valve seat may be experiencing some corrosion leading to the leakage. If you don’t clean the corrosion for some time, you may experience leakage near the spout. You could also experience the leaking because of some worn-out parts, destroyed seals, or a broken plumbing system.
Since it may be difficult for you to troubleshoot these complications, it’s best to call an expert in leaky faucets like Woodbridge Plumbing to carry out the process.