
15 Dec. 25
Best Practices for Garbage Disposal Maintenance: Make Yours Last Longer
A garbage disposal is one of those kitchen workhorses you don’t think about until it hums, jams, or starts smelling like yesterday’s leftovers. The good news: most disposal problems are preventable with a few consistent habits and a little know-how. Proper maintenance helps the motor run cooler, keeps blades and grinding components working efficiently, and reduces the risk of clogs that can back up your sink. Just as important, good practices protect your plumbing system overall, since a struggling disposal can push grease, sludge, and food particles into places they don’t belong.
If you’ve ever dealt with slow drains, mystery odors, or a disposal that quits mid-grind, you already know how disruptive it can be. Homeowners who stay ahead of routine care often get years more service from the same unit, while also cutting down on emergency calls. And if you’re comparing maintenance expectations across homes or rentals, it’s helpful to remember that conditions vary, especially with older pipes and frequent cooking. For households that rely on plumbing in Woodbridge, VA, a consistent disposal routine is a simple way to avoid bigger kitchen drain issues.
1) Run Cold Water Every Time You Use It
Cold water isn’t just a suggestion; it’s part of how disposals are designed to work. When you run cold water before, during, and after grinding, it helps solidify fats so they’re less likely to smear and coat the inside of the unit or your drain line. It also carries food particles through the trap and into the main line so they don’t settle and form buildup.
A good rule: start the cold water first, turn on the disposal, feed scraps gradually, then keep water running for 15–30 seconds after the grinding sound stops. That final rinse is what clears the chamber and flushes residue out of the pipes.
2) Feed Scraps Slowly and Keep Loads Small
Garbage disposals are meant for small food remnants, not full plates. Overloading forces the motor to work harder, which creates heat and wear—two big factors in shortened lifespan. It also increases the chance of a jam because items can wedge against the grinding ring faster than they break down.
For best results, scrape most food into the trash or compost, then send only small portions into the disposal. If you have fibrous leftovers or large scraps, cut them into smaller pieces first. Think “steady trickle,” not “dump and hope.”
3) Know What Should Never Go Down the Disposal
Many disposal failures start with the wrong materials. Some items cause jams, some wrap around components, and others create drain-blocking paste. Avoid these common culprits:
- Grease, oil, and fat (they coat parts and harden in pipes)
- Fibrous foods (celery, corn husks, onion skins, artichokes)
- Starchy foods (potato peels, rice, pasta, oatmeal)
- Coffee grounds in large amounts (they pack into sludge)
- Bones, fruit pits, shells (too hard for most residential units)
A small mistake now can become a clog later. When in doubt, trash it. Your disposal should support your cleanup routine, not become a second compost bin.
4) Clean Safely: Ice, Salt, and Gentle Deodorizing
Disposals don’t need harsh chemicals to stay fresh. In fact, strong drain cleaners can be risky for older plumbing and may damage certain components over time. A safer maintenance routine is simple:
- Ice + coarse salt: Drop a handful of ice cubes and 1–2 tablespoons of coarse salt in, run cold water, and turn on the disposal. The ice helps scour the grinding chamber while salt adds abrasion.
- Baking soda + vinegar (occasionally): Pour 1/2 cup baking soda, then 1 cup vinegar. Let it fizz for 5–10 minutes, then rinse with cold water.
- Citrus peels sparingly: A few small lemon or orange peels can help with odor, but don’t overdo it; peels can be fibrous and may contribute to buildup if used constantly.
5) Prevent Odors by Cleaning the Splash Guard and Flange
If your disposal smells bad even after rinsing, the issue is often above the grinding chamber. The rubber splash guard (the flaps at the drain opening) collects film and food residue that doesn’t always wash away. This area can smell long before the disposal itself has a problem.
Clean it weekly: lift the flaps and scrub with a dish brush and warm, soapy water. Wipe the underside of the flange (the metal ring at the sink opening) too. This quick step is one of the most effective ways to keep odors under control without relying on fragrances or aggressive cleaners.
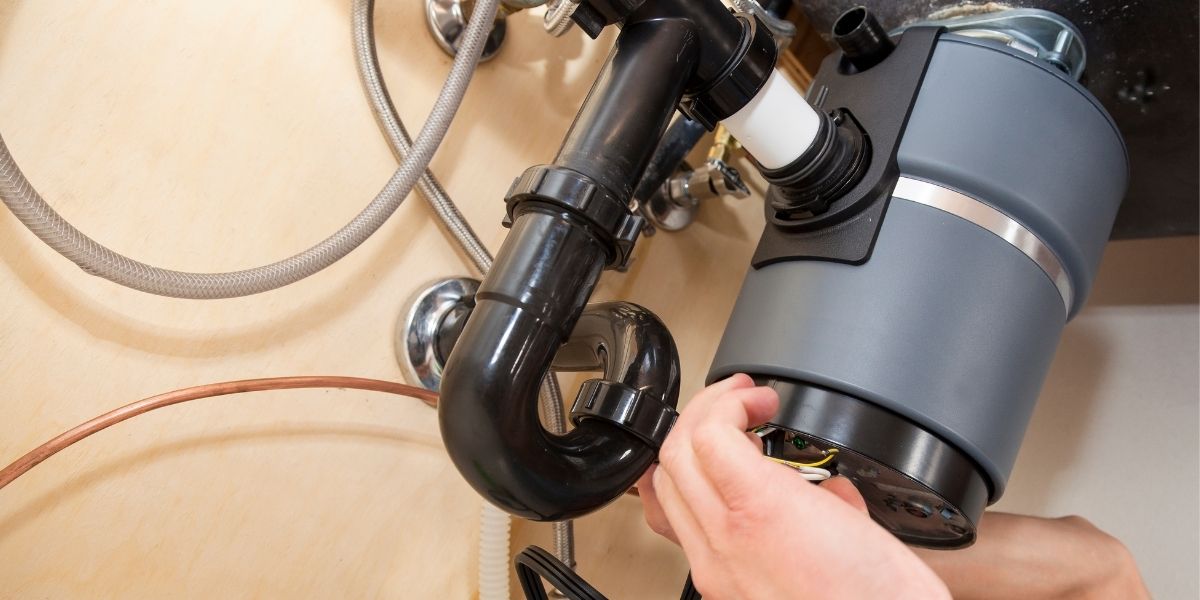
6) Recognize Early Warning Signs and Fix Small Problems Fast
Disposals rarely fail without giving clues. Pay attention to these signals:
- Humming without grinding: often a jam or stuck impeller
- Frequent resets: motor strain, worn components, or electrical issues
- Slow draining: buildup in the trap or drain line
- Leaks under the sink: loose connections, worn seals, or cracked housing
If it hums, turn it off immediately to prevent overheating. Many jams can be cleared with the disposal’s hex key (Allen wrench) at the bottom center, rotating back and forth to free the mechanism, always with power off. If leaks or repeated resets continue, it’s time for a professional evaluation so a minor issue doesn’t become pipe damage or a full replacement.
A garbage disposal lasts longest when it’s treated like a helper, not a trash can. Run cold water with every use, feed scraps gradually, and keep problem foods—especially grease, fibrous items, and heavy starches out of the unit. Clean the grinding chamber with ice and salt, keep the splash guard free of residue, and respond quickly to humming, slow draining, or leaks. These habits reduce strain on the motor and help prevent buildup in your kitchen drain lines, which matters even more in homes with older piping. If you rely on plumbing in Woodbridge, VA and want a disposal that runs reliably year-round, reach out to Woodbridge Plumbing for a professional inspection, repair, or replacement recommendation tailored to your kitchen’s needs.